To most people the electronic devices they encounter daily are simply black boxes. There are no visible clues as to how these things actually work. Children have no idea what’s underneath the screen on the tablet, inside the television on the wall, or behind the touch pad of the microwave. This module introduces children to the basic components that make up every electronic circuit.
Format: 4-5 stations. The number of stations depends on the time you have for the activity, the number of volunteers, and the number of children.
Supplies
Reusable
- Pencils
- Countdown timer
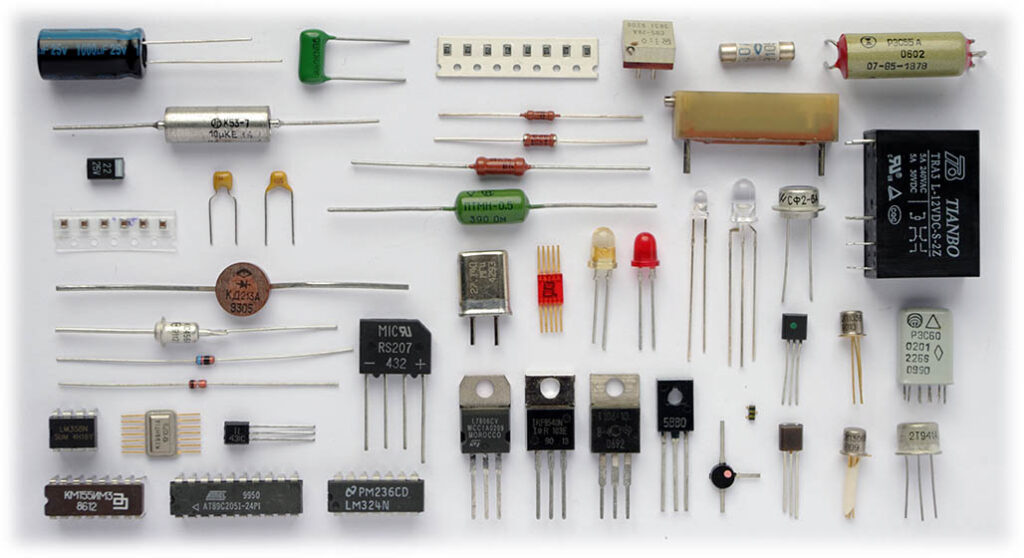
- Circuit boards from broken devices
- Assorted resistors (optional)
- Sheet protectors (optional)
- Magnifying glasses (optional)
- Bowls (optional)
- Assorted loose electronic components (optional)
- Elenco® Snap Circuit® Jr. SC-100 (optional)
Consumable
- Supplies for making card games (see “Preparation”)
- Index/note cards (optional)
Printable
- Card games (see “Preparation”)
- Circuit diagrams
- Tally sheets
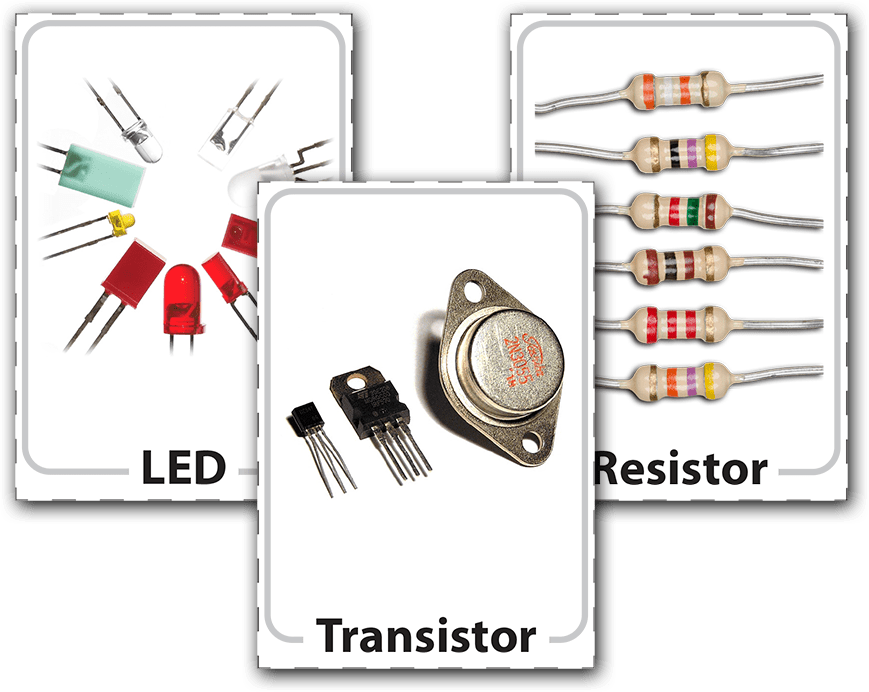
- Component images
- Resistor keys
- Resistor image cards (optional)
- Resistor answer sheets
Elenco® Snap Circuits®:
Many toys marketed for teaching children about circuits are themselves collections of black boxes. Snap Circuits pieces have the actual component exposed along with its name and symbol. The pieces are exceptionally sturdy, and have a lifetime replacement guarantee. You can often find sets online for considerably less than the list price.
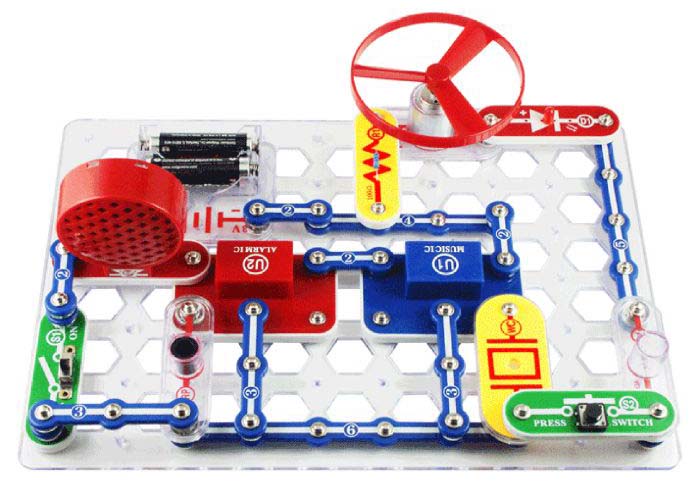
Note: We have no association with Elenco, nor received any financial compensation or free products. The inclusion of Snap Circuits here is entirely because we found them to be superior to the other options out there.
Circuit Boards:
Old electronics being thrown out are great sources of interesting electronic components. Local schools, electronics recyclers, computer repair businesses, and even students’ families all may have various printers, computer components, speakers, etc that they intend to throw out. A little time and screwdrivers and you can quickly gather a hoard of circuit boards. Laptop “power bricks” and desktop computer Power Supply Units (PSU) are actually fantastic sources of circuit boards with a wide range of large, easily identifiable electronic components on them. Small circuit boards can even be found in unexpected places, like solar-powered yard lights and greeting cards that play music when opened.
Printables
All the necessary print-outs (card decks, component keys, circuit diagrams, resistor sets, etc) can be downloaded using the button below:
Preparation
Pre-Activity Preparation
Determine whether you’ll have four or five stations. If five, determine which option you will use: (a) Snap Circuits, (b) sorting components, or (c) matching challenge. If you have a good assortment of actual circuit boards for Station 1, four stations will be enough for a one hour long activity. Consider eight children per station as your maximum number under most circumstances.
Choose the games you want for this activity. Print the game cards onto cardstock and cut apart. Alternatively, print onto regular paper, then cut out and attach the images to blank playing cards with clear packing tape or lamination. (See our Simple Games toolbox for details.) There are two versions of the memory game cards, one with twelve components for younger students, one with twenty-one for older students. If you’ll have eight students per station, consider having two volunteers and two sets of each game played simultaneously per rotation.
Print two copies (three if you’ll have eight students) of the circuit diagrams and place them in sheet protectors. Print the tally sheets.
Print enough copies of the component images so each student at Stations 1, 3, and 5b or 5c has a copy. Put these in sheet protectors.
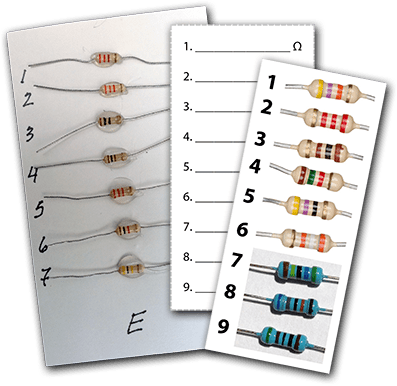
Print and cut out resistor band keys, enough so each student at the station has one. Attach resistors to note cards or print resistor image sheets, enough so each student at the station has one card or sheet. Print and cut answer sheets.
Activity Day Set-Up
Prepare rotation slips for the name tag lanyards to divide children equally among the stations and help them stay on track during rotations. If applicable, make groups of combined first and second grade students, and groups of combined third through fifth grade students even if this makes group sizes unequal.
If using a component sorting station, label bowls with the symbols corresponding to the loose components you have, one symbol per bowl.
If using Snap Circuits, familiarize yourself with the chosen projects, and the explanations for each in the manual. If you have eight students consider having at least two Snap Circuit sets.
Set up cafeteria trays, one per station with needed supplies for each:
Station 1: Finding components on actual circuit boards and circuit diagrams
- Circuit boards
- Component image sheets (1/student)
- Magnifying glasses (optional, 1/student)
- Diagrams
- Tally sheets (1/student)
- Pencils (1/student + extras)
Station 2: Reading resistors
- Resistors on cards or resistor images
- Resistor band keys (1/student)
- Magnifying glasses (optional, 1/student)
- Answer sheets (1/student)
- Pencils (1/student + extras)
Station 3: Memory game
- One tray with the 1st and 2nd grade version (12 components, image + name)
- One tray with the 3rd-5th grade version (21 components, one card in each pair has the name + image, and the other has the name + symbol)
- Component image sheets (1/student)
Station 4: Card games
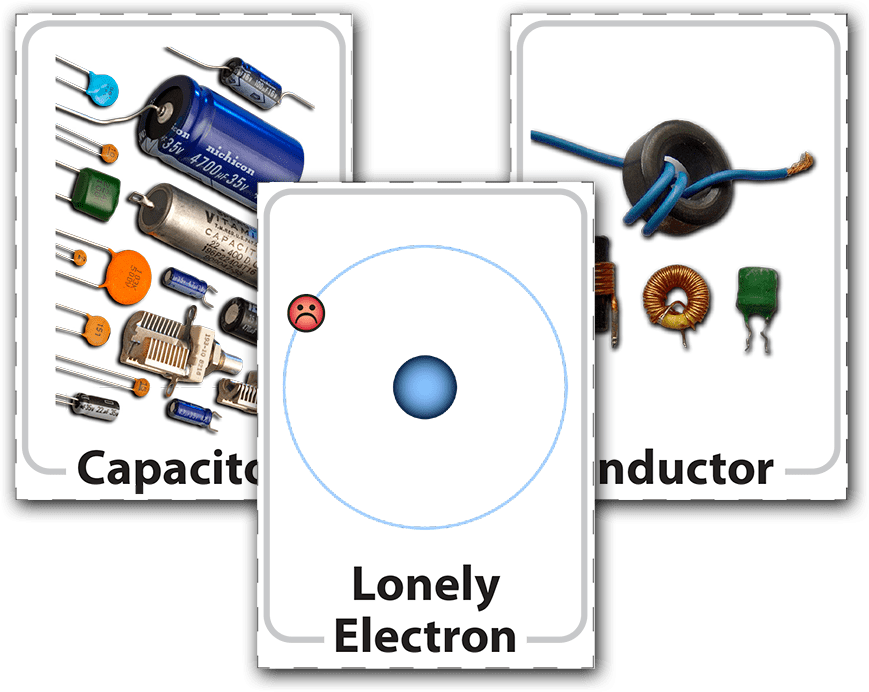
- One tray with “Lonely Electron” for 1st and 2nd graders
- One tray with “Go Fish” for 3rd-5th graders
Station 5a: Elenco Snap Circuit Jr. SC-100
-or-
Station 5b: Identify and sort electronic components
- Assorted individual electronic components
- Labeled bowls
- Component image sheets (1/student)
-or-
Station 5c: Match component images to symbols and names challenge
- Image, symbol, and name cards
- Component image sheets (1/student or pair of students)
Running the Module
While students gather, have volunteers set up and review their stations.
Introduction (≤ 5 min)
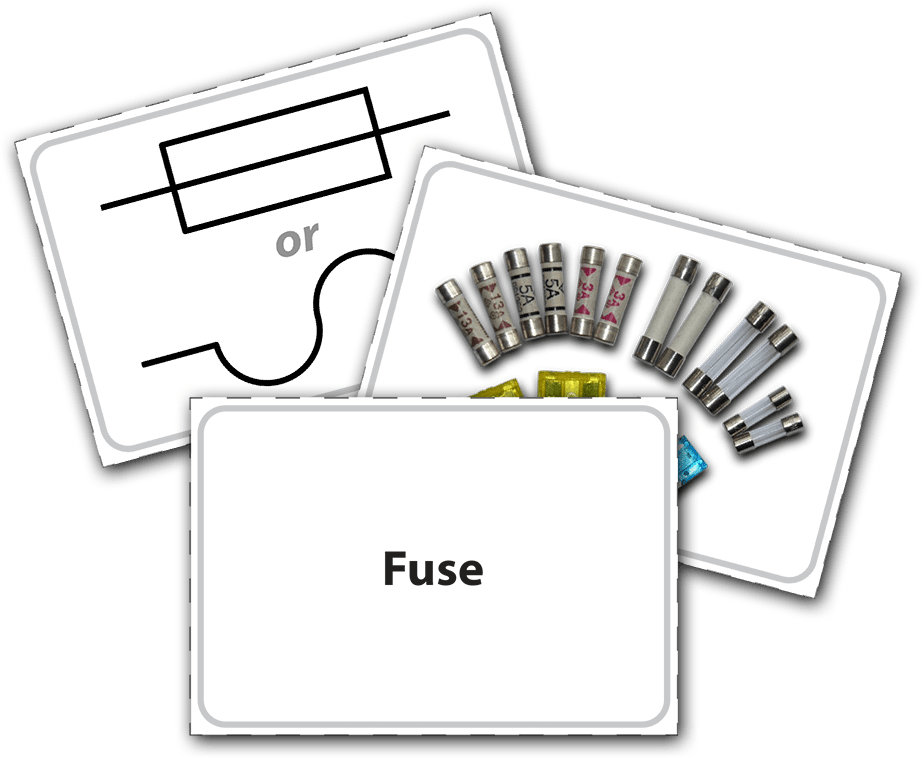
Our modern electronic devices, cellphones, computers, tablets, microwave control panels, game consoles etc., require electricity to work. Electricity is the flow of invisible, charged particles called electrons. Electronics is the science and technology of controlling the tiny amounts of electricity used by our devices. Each device has one or more circuits, a system of wires and components forming a complete and closed path. The flow of electrons through a circuit, and some components that control it, can be compared to the flow of water through a hose. Diodes act like valves so the electricity can flow in only one direction. Resistors make it harder for the electricity to flow, like stepping on the hose. Switches turn the electricity on or off like a faucet handle. Today you’ll get to know some of the most common electronic components, and see how they’re combined to make circuits.
Activity
Send groups to their first stations, starting the timer when they arrive. Divide the remaining time by the number of stations, giving the signal to move accordingly. Restart the timer right away each time; do not wait for all children to arrive at the next station.
Station 1:
Give each child a tally sheet and component image sheet and let them choose a circuit board or diagram to examine. Students will exchange diagrams and boards until time is up, but make sure each does at least one diagram and one circuit board
Station 2:
Give each child a card or sheet of resistors and a copy of the key. Work through the two samples shown on the key together. Young students may not know what “powers of ten” means, but they can understand adding a certain number of zeros to the end of the other numbers. Then let students tackle the resistors. When everyone is finished, or two minutes before time is up, go through the answers.
Stations 3-4:
Refer to game rules in the Simple Games toolbox. Use a 4 x 6 array for younger students, a 6 x 7 array for older ones. The “Go Fish” deck is just the “Lonely Electron” deck minus the namesake card.
Station 5a:
Consider doing the following projects from the instruction manual in this order until time runs out: 1, 2, 8, 14, 4, 5, 6. These simple projects demonstrate switches, diodes, resistors, fuses, motors, and parallel versus series circuits. Make sure each child has a chance to participate in assembly. If you have more than one Snap Circuit Jr. set divide the children accordingly and let them proceed with the selected projects at their own pace. As they finish each project ask them what they learned.
Station 5b:
Give each child a components image sheet. Children sort the components into the corresponding bowls. This exercise is most interesting when there are many varieties of each basic component. If they finish before time is up repeat the sorting without the components image sheets.
Station 5c:
Give each child, or pair if they’ll be working with a partner, a components image sheet. Spread the image, symbol and name cards face side up on the table. The goal is to collect sets of three (image, symbol, name) in the time allotted. If they finish before time is called, remove the components image sheets. Hold up image or symbol cards one at a time, awarding points to the students who correctly identify it.
Do you have any alternative ideas for interesting activities to do with electronic components? Found a great source for circuit boards or spare components? Any tweaks to the module that worked well for you? We’d love to hear it! Drop us a note or leave a comment!


0 Comments