Titration is a common laboratory method to determine the concentration of a substance (A) in solution. A reagent, the titrant, is a solution of known concentration of a different substance (B) that reacts with substance A. A third substance, an indicator, is usually added to monitor the reaction. The titrant is added slowly to the solution of substance A to be analyzed until the indicator shows that the reaction between substances A and B is complete. Given the volumes of the two solutions one calculates the concentration of substance A.
This module introduces the concepts and techniques of titration at a level accessible to younger students. They will employ this knowledge to determine the relative strengths of acidic and basic solutions by titration using very simple equipment and solve a variety of challenge scenarios.
Supplies
The supply amounts listed below are per 24 students in two-person teams.
- 24× Safety glasses or goggles — One per child.
- ≥50× two- or three-ounce plastic cups — The inside of the cup must be white or frosted white in color.
- 12× Teaspoons — Normal cutlery sized
- 6-10× Very small spoons or scoops — 1/8 to 1/4 measuring teaspoon in size
- 1× Measuring teaspoon
- 1× 5 ml or larger syringe (Optional)
- 1× 100 ml Graduated cylinder or an eight-ounce measuring cup marked in milliliters
- ≥40× 15 ml dropper bottles — At least 40 if you do all eight challenges. This is the standard size used for eye drops. They are available online in lots of 50 at ~24 cents apiece, and in lots of 100 for ~14 cents each. If you repurpose eye drop bottles, all traces of the original labels must be completely removed
- Phenolphthalein indicator (1% in alcohol) — Available online
- Distilled white vinegar — Available at the grocery store
- ~8 oz of Clear ammonia (household cleaner) — Available at discount, office supply, and home improvement stores for less than $3 for a 64 ounce bottle. “Clear ammonia” is preferred, as “sudsy” or other types contain surfactants, fragrances, or other additives. If you cannot find clear, you can use sudsy.
Additional Materials for the Eight Challenges
- The various powders and liquids in the table below.
- Container or bucket — Large enough to hold ~2.5 gallons, for waste water.
- 2-3× Clean 2-liter soda bottles, half-gallon juice bottles, or 1-gallon milk jugs — If there is no sink with water in your work space
- Paper towels
- Piece of pink paper
- Cafeteria trays (optional)
| Item | Relevant Challenge(s) | Notes |
|---|---|---|
| Citric Acid | 1,5 | (a.k.a. sour salt) Found in the grocery store spice or Middle Eastern seasonings aisle. |
| Baking Soda | 1,2,3 | |
| Powdered Sugar | 2 | |
| Table Salt | 5 | |
| Balsamic Vinegar | 6 | 15 ml or about a tablespoon. |
| Red Cider Vinegar | 6 | 15 ml or about a tablespoon. |
| Washing Soda | 7 | (sodium carbonate decahydrate) Arm & Hammer brand in the laundry aisle; about a tablespoon or two needed. |
| Borax | 7 | (sodium borate decahydrate) Twenty Mule Team brand in the laundry aisle; about a tablespoon or two needed. |
| Lemon Juice | 8 | 15 ml or about a tablespoon. |

Printouts
Printable versions of all the handouts necessary for all activities described in this module can be downloaded using the following button:
Preparation
Introductory Game
Print the sheet of OH– and H+ tags. Cut the paper to size to fit into the back of the name tag lanyards. There must be one more base tag (OH– ) than acid (H+). If you have an even number of students choose a student to represent phenolphthalein instead of a volunteer.

Solutions
The actual concentrations of the solutions you use for titration aren’t important since the children are only determining relative strengths. You can use tap or distilled water. Keep concentrations relatively low for safety. Prepare solutions that require about five to ten drops when titrated against one another to reach the endpoint. Children get frustrated when it takes more than 20 drops to reach the endpoint, but two or three can be too few to distinguish relative strengths.
For the initial titration activity you need two acidic solutions of different strengths and one basic solution. The simplest route is to use undiluted distilled white vinegar, vinegar mixed 1:1 with water, and clear (not sudsy) ammonia, diluted with water if necessary, to obtain the desired five to ten drop results. Alternatively use undiluted vinegar, a stronger citric acid solution, and undiluted ammonia. Fill and label dropper bottles, six of “acid #1”, six of “acid #2”, and twelve of “base”. If you have enough bottles, prepare a few extra of each solution in case a team uses up its supply prematurely. A 5 ml or larger syringe is very handy for filling the bottles.
If the phenolphthalein did not come in or with a dropper bottle, fill two of yours. Label as “indicator” if “phenolphthalein” doesn’t fit on the bottle.
Select “challenges” based on the materials you have available. (Eight challenges are provided in the printouts.) Adjust concentrations of the unknown solutions to produce the five to ten drop range when titrated against the “acid #1”, “acid #2”, and “base” solutions you prepared for the initial activity.
A good starting point is one level measuring teaspoon (~5 grams) of powder in 100 ml of water. Washing soda and borax will need very warm or hot water to dissolve. Titrate the basic solutions against the stronger of your “acid #1” and “acid #2” solutions, and your acidic solutions against your “base”. Add water or powder as needed to give endpoints after five to ten drops. Ratios we have personally found work well are provided in the table below, along with the approximate pH they produced.
| Powder | Powder/Water Ratio | ~pH |
|---|---|---|
| Citric acid (#1) | 1.5 tsp/100 ml | 1 |
| Citric acid (#2) | 1 tsp/100 ml | 2 |
| Distilled white vinegar | undiluted | 3 |
| Tap water | n/a | 6 |
| Baking soda | 1.5 tsp/100 ml | 8 |
| Borax | 1 tsp/100 ml | 9 |
| Ammonia | undiluted | 10 |
| Washing soda | 1 tsp/100 ml | 11 |
Fill dropper bottles, and label with their corresponding letter (e.g., “Solution A”). Put unknown powders in labeled cups. Supply a small spoon or scoop with corresponding label for each unknown powder cup (to avoid accidental mixing). Put the vinegars and lemon juice in labeled dropper bottles. You’ll need two white vinegar bottles, one for Challenge 6 and one for Challenge 8. Prepare enough duplicate sets of some challenges so every team will have a challenge to investigate.
Initial Titration Activity
Print the answer, procedure, and “Acid #1 and Acid #2” sheets. Prepare a workstation for each pair of students, placing a tray at each station if you have them. Place one “Acid #1 and Acid #2” sheet on each tray. Place a cup on each square of that sheet. Put one teaspoon of water and one drop of phenolphthalein in each cup. Place an “acid #1” or an “acid #2” dropper bottle, a “base” dropper bottle, and a pencil on each tray.
Challenge Activity
Select a location near the workstations to set out the unknowns, the bucket to collect titrated solutions, and bottles of water for rinsing cups if they’ll be reused during the activity.

Running the Module
Introduction (5 min)
Titration is a common laboratory method used to discover the how much of a particular substance is in a solution. You need a different substance, called the titrant, that reacts with the first substance, and a third, called an indicator. The titrant is added slowly to the solution of the first substance until the indicator shows that the reaction between them is complete (such as by changing color). We are going to use titration to discover the relative strengths of some solutions of acids and bases in water.
Acids produce hydronium (H+) ions when dissolved in water (see info box below). Bases produce hydroxyl (OH–) ions. The concentration of hydronium ions determines the pH, which denotes of how acidic or basic a solution is. Acids have a pH less than 7, bases have a pH more than 7. Solutions with the same number of hydronium and hydroxyl ions have a pH of 7. They are neutral, being neither acidic or basic.
Phenolphthalein is a molecule that is colorless in solutions with a pH of 7 or less, but bright pink in solutions with pH greater than 7.
Show two small clear, glass test tubes or jars, one with a few milliliters of one of your prepared acidic solutions and one with a few milliliters of your basic solution. Add a drop of phenolphthalein to the acid, then a drop to the base to demonstrate the color change.
Demonstration/Game (5 min)
The children with H+ in their name tags (acids) stand together. They represent an acidic solution. What is its pH? (< 7 ) Choose a volunteer, representing phenolphthalein, to stand in the “solution”. The children with OH– tags (bases) stand to one side. “Titrate” the acid solution by adding the base children to the acid children one by one. Each base child chooses an acid child and they sit down together. When all of the acid children have been paired with a base child what is the pH of the “solution”? (7, or neutral) Add the final base child to the solution, who must remain standing since there are no more acid children to pair with. The indicator volunteer (phenolphthalein) holds up the pink sheet of paper. What is the pH of the solution now? (>7).
Titration Activity (15 min)
Divide the teams of students evenly amongst you and your volunteers so the children will be able to more easily observe the color change. Demonstrate the titration procedure step by step.
- Add one teaspoon of water to the cup.
- Add one drop (no more, no less) of phenolphthalein indicator.
- Add four drops (no more, no less) of an acidic solution.
- Add one drop of the basic solution. Swirl very gently until any pink color that may appear is gone.
- Repeat step 4, keeping track of the number of drops added, until the pink color remains after swirling. It will probably be very pale. This is called the end point.
- Record the number of drops used.
If the color was very pale it will often disappear after standing a few minutes. Don’t add more base, or change the number of drops to end point.
 First drop of base before swirling
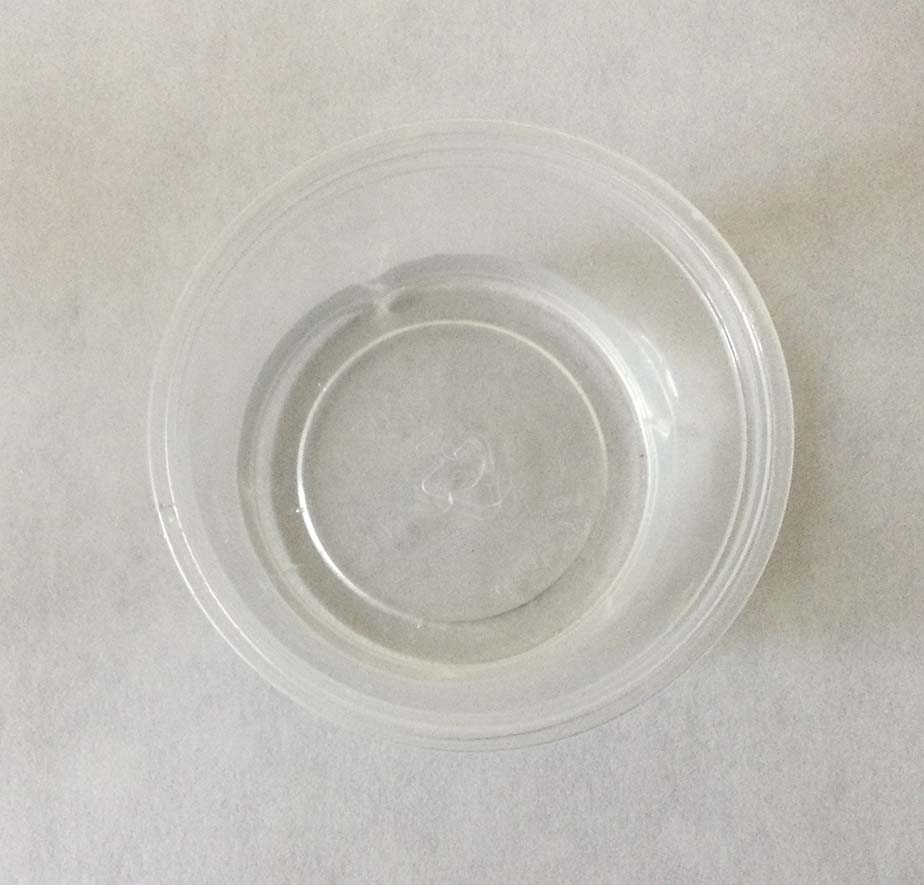 After swirling, before the end point
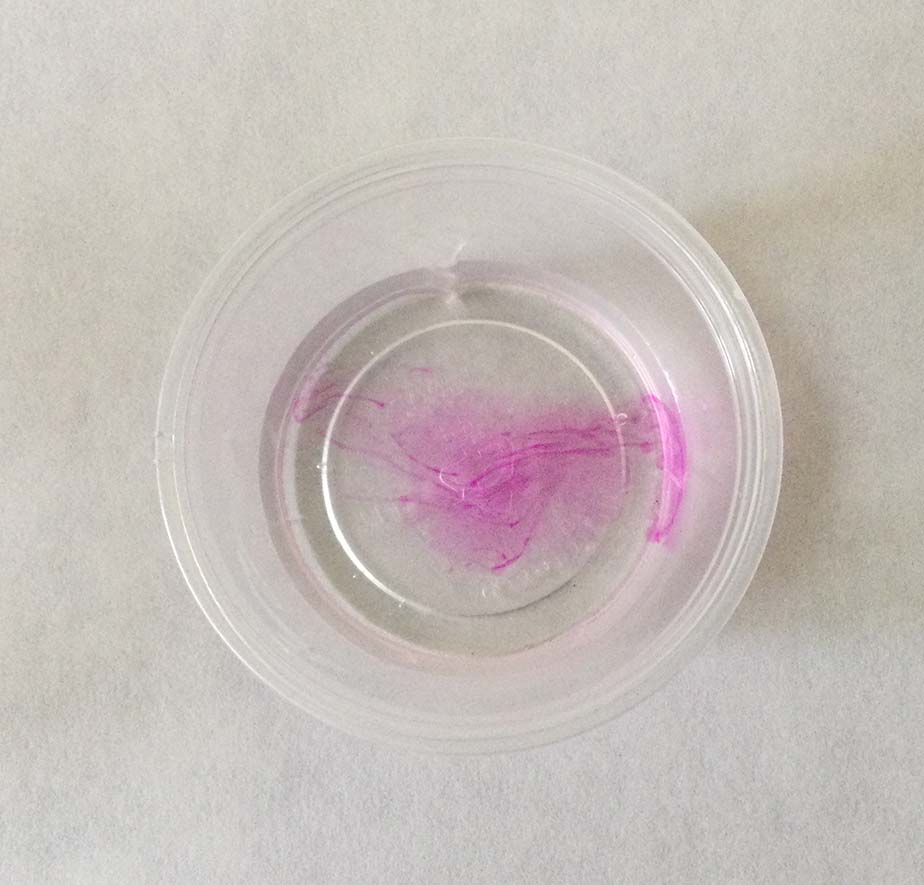 Getting closer to the end point, before swirling
 At the end point, after swirling
 Pink tint after 1 minute
Send teams of students to workstations. Explain that steps one and two have already been done for them. When they finish titrating whichever acid is at their station they should raise a hand so a volunteer can exchange their acid for the other.
When all have finished the two titrations regather the students. While you talk to them, the volunteers will exchange the two used cups for dry ones (or rinse and return the original cups), and place a cup of water, a teaspoon, and one challenge card at each workstation.
Discussion and Challenge Activity Explanation (5 min)
Ask the following:
Which acidic solution is stronger, one that took more drops of basic solution, or one that took less? The one which took more. It had more H+ ions so it took more OH– to be neutralized.
Which solution was stronger, acid #1 or acid #2?
What would happen if you started with a basic solution in the cup and added drops of acidic solution? The color would be bright pink to begin with. You would add drops of acid until the pink color completely disappeared.
Explain that you have several Challenges, problems that can be solved using what they’ve learned about acids, bases, and titration.
- It’s up to each team to decide how to set up an experiment.
- Show the children where to get the unknowns.
- Remind them to follow the procedure from the first activity.
- When a team is ready for the indicator, they should raise their hands and a volunteer will bring it.
- When they complete a challenge, return the challenge card, unknowns and used cups to get a new challenge card, unknowns, and dry cups.
- Students must never taste an unknown to identify it! Treat all unknown substances as if they are deadly poisons.
Challenge Activity (~30 min)
If there are no questions send the teams to their workstations. One volunteer will circulate with the phenolphthalein indicator. Another will distribute new challenges, unknowns, and fresh cups. This person will also empty finished titration liquids into the waste bucket and rinse the cups with water if they’ll be needed again. Invert rinsed cups unto the paper towels. They don’t need to be dry to be used again.
Conclusion (<5 min)
It is unlikely that any team will complete all eight challenges. Gather the teams with their answer sheets during the last few minutes to read and compare results.
How did your young chemists do? Did you make any tweaks to the activity that worked well for you? Were there other acid or base choices you’d like to recommend? We’d love to hear from you! Drop us a note or leave a comment!


0 Comments