This post details how to run the one-session version of the electricity-focused variant of the Wind Turbine module. For the other versions , as well as the mechanical variants, see the Overview Post.
Supplies & Preparation
The necessary supplies and preparation instructions for all three “Wind Turbines to Generate Electricity” activities are described in the Supplies and Preparation post.
Running the Module
Introduction (5 minutes)
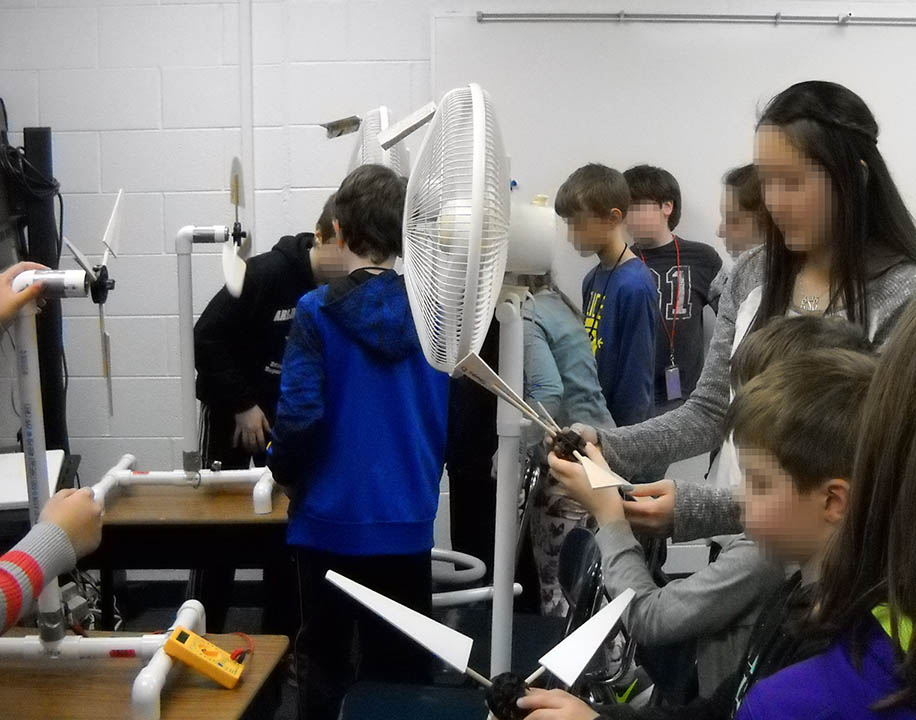
Show one of the turbines with a hub and blades attached.
- These model turbines produce electricity when the rotor of the motor rotates. The faster it rotates, the more electricity is produced. Measuring voltage can tell us how much electricity is produced.
- The blades catch the wind, causing the hub attached to the motor rotor to spin. Demonstrate how to put blades into the hub. Tighten 12-hole hubs just enough to keep blades from flying out.
- There are many parameters or variables that determine how fast a hub with blades spins. Drag, pitch, number of blades, and shape of blades are some of them.
- Have children rub their hands together until they feel heat, i.e. the effect of friction. The friction of air against the blades is called drag. Put dots on one blade, one close to the tip, one close to the blade shaft. Which dot moves fastest when the hub spins? Which dot feels the most drag?
- The angle the blade makes with the direction of the wind is called pitch. The pitch can be anything between 0 and 90 degrees. Show the students how to estimate pitch using the protractor.

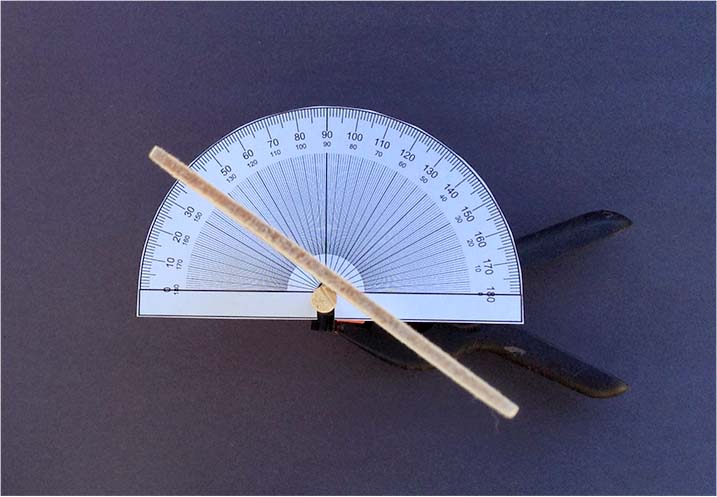
- Demonstrate adjusting pitch by loosening the 12-hole hubs slightly and grasping the shaft, not the flat portion of the blade. Twisting the blade alone, especially if the hub has been tightened, inevitably leads to broken blades (balsa) or blades being ripped off of the shafts (foam core board, chipboard, corrugated cardboard). Blades should be aligned at the desired pitch before inserting into 8-hole hubs because twisting them after insertion will likely dislodge or tear the tape.
- Explain that teams must share blades today, so it’s important to take only the blades needed for each test, and return them right away when finished with that test.
- Explain that there are five tests to explore these parameters or variables. Each test changes only one variable at a time. Do the one marked on the record sheet first, then the other three in any order until time is called.
- Do all tests on the same wind turbine, the one marked on the record sheet.
Tests (25 minutes)
Allow the teams to work on the five tests. Call time after 25 minutes, or when all teams have finished all five tests, whichever comes first. Teams that finish ahead of the others can do additional Test 5 trials.
Challenge (5 minutes + 15 minutes)
Gather the students, seated together by team and turbine. If any teams did not complete Tests 1-4 they should now get that data from another team that used the same turbine.
“The challenge for today is to pretend each team is a wind turbine company. If you haven’t already, choose a name for your company. Your customers want to know what blades to use in order to generate the most electricity. Choose a set of two or three blades (two or four for 8-hole hubs), then adjust the pitch to produce as much electricity as possible. If the first set you chose doesn’t work well you can choose another. You have fifteen minutes.”
Conclusion (10 minutes)
Ask each company (team) to present their best blade and pitch combination. Were the parameters for best combinations similar?
Award the contract to the winning company.
Close (5-10 minutes)
Announce the winning company.
Discuss which blade designs and configurations generated the most electricity. What aspects did they have in common? What did the students find surprising or unexpected? What changes would they make if they had time to design another set of blades?
How did your young engineers do? Did you make any tweaks to the activity that worked well for you? What blade designs and setups worked best? Any surprises? We’d love to hear from you! Drop us a note or leave a comment!


0 Comments